What to look for in a garden water timer
A garden water timer automates your hoses and drip lines to save water and money. Find out how to choose the right zones and schedules for your yard.
- Written and checked byCordelia Hudspeth
- 7 minutes to read it all
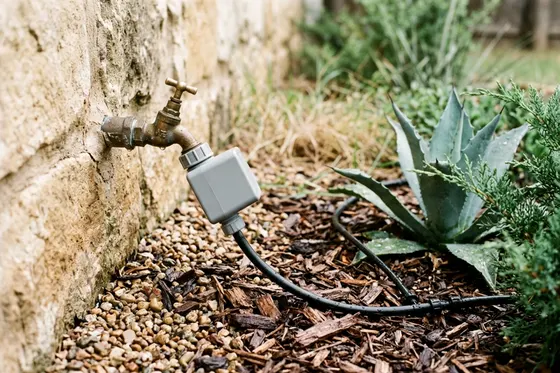
A garden water timer automates your watering schedule and can lower your monthly utility bill and conserve your local water supply. Attaching a simple valve unit to your outdoor spigot ensures your plants get exactly the moisture they need. You spend a little upfront and save the time you would spend standing at the spigot.
What a timer does for a drip line or soaker hose
A basic hose timer fastens directly to your outdoor faucet and connects to your garden hose. An internal valve opens at the hour you choose and shuts off completely when the watering cycle finishes. That prevents the common mistake of leaving a soaker hose running all afternoon.
Drip irrigation systems rely on steady water pressure to moisten the soil around delicate plant roots. A manual valve requires you to stand outside and remember to turn the brass handle off. Once you plan and lay out your drip lines, adding a timer takes the forgetting out of it.
Consistent moisture helps roots grow deep and strong without drowning the surrounding soil. Hand watering often leads to shallow puddles that evaporate rapidly in the morning sun. An automated valve feeds your plants at a slow crawl before the sun comes up.
Digital models let you pick specific days of the week. Mechanical dial timers use two simple knobs to set the duration and the frequency. Both styles shut the water off on time.
Choosing one watering zone or several
Single outlet timers control one hose run for a small garden or a patio planter. Dual outlet models provide two separate watering schedules from a single outdoor spigot. Large multi-zone timers manage an entire backyard setup using a manifold block.
A watering zone is a group of plants sharing the same sun exposure and thirst levels. Tomatoes in raised beds require a different watering routine than a shady border of ferns. Grouping your yard into distinct areas prevents you from overwatering one plant to save another.
Counting your specific zones takes nothing more than a quick walk around your house. A simple vegetable patch runs fine on a one outlet device. A property with a lawn, a foundation shrub bed and young trees demands three or four zones. You program each port to match the exact watering needs of those specific plants.
A unit with one more outlet than you need now leaves room to grow. Gardeners often build a new raised bed or plant a row of berry bushes the following spring. An open port lets you attach a new hose without replacing your entire timer unit. You simply cap the unused metal outlet until you need it for another garden expansion.
Pressure loss limits how many drip emitters you can run on one line. Splitting a large garden into two zones keeps the flow strong at the end of the run. The timer waters the first half of the yard, then switches to the second half automatically.
Battery power versus plugged in units
Most garden hose timers operate on basic alkaline batteries to open and close the internal valve. You screw the device straight onto the spigot and insert two batteries into the waterproof tray. This design requires no electrical work and takes only a few minutes to set up.
Battery powered timers suit the remote corners of your yard. You can attach one to a distant faucet without running long outdoor extension cords. Battery life varies by model, so check the maker's instructions for when to replace them. A low battery indicator flashes a warning light when the internal power drops.
Plug-in irrigation controllers mount to a garage wall and wire directly to an electrical outlet. These larger units connect to underground plastic sprinkler pipes rather than a standard garden hose. Hardwired controllers handle complex watering schedules for large properties with many separate zones.
Standard hose timers lack the internal space for heavy power cords or electrical transformers. Relying on batteries keeps the unit compact and safe from outdoor water hazards. Taking the batteries out at the end of the season can prevent leaks from damaging the electronics.
Setting schedules for early and deep soaking
Plant roots follow moisture deep into the soil when you water heavily and less often. A daily light sprinkle encourages shallow root systems that burn up during a dry spell. Setting your timer to run for a long stretch a couple of times a week can build stronger plants. The soil needs time to breathe and dry out slightly between these heavy soaking cycles.
Morning watering cuts evaporation and lets wet leaves dry. Programming your timer to start before sunrise gives the water time to sink down. The afternoon heat will not bake the moisture away before the roots absorb it.
Evening watering leaves foliage wet all night, which can invite mildew onto garden vegetables. A timer lets you water in the morning without getting up for it.
Different emitters push out water at vastly different rates across your garden beds. A porous soaker hose delivers water slowly, so it needs a long run time. Slow drip emitters help you water tomato plants deeply without splashing dirt onto the lower leaves. Checking the soil moisture with a hand trowel helps you dial in the exact run time.
Adding a rain delay or weather sensor
Running a sprinkler during a rainstorm wastes water. A manual rain delay button pauses your watering schedule for a day or two. You push the button when the forecast predicts rain, holding off the next cycle. The original schedule resumes automatically when the internal countdown clock finishes the delay period.
Manual delays require you to pay close attention to the local weather report. Missing a sudden storm means your timer waters the garden right in the middle of a downpour. Adding an automatic rain sensor takes away the constant need to check the skies. The sensor overrides the watering cycle as soon as it detects natural precipitation.
A basic rain sensor wires directly into the bottom port of many advanced timers. You mount the small collection dish on a gutter or a wooden fence post. Cork disks inside the sensor expand when wet and trigger a switch to cut the power. The disks shrink as they dry out, telling the timer to resume regular duty.
Soil moisture sensors offer an even more accurate reading of your ground conditions. These metal probes stick directly into the dirt near your most sensitive garden plants. The timer only opens the valve when the soil drops below a specific dryness threshold. Bypassing unneeded watering cycles can save a good deal of water.
Using the manual override for quick yard chores
Most automatic timers include a manual override button on the front panel. This feature lets you use the garden hose without deleting your saved watering schedule. You push the manual button to open the valve for a quick task like washing the car.
Washing muddy boots or filling a birdbath takes only a minute or two of water flow. Unscrewing the entire timer from the spigot for a simple chore wastes unnecessary effort. The manual override sends water through the hose immediately while preserving your programmed days and times.
Some basic models require you to spin the dial to a manual setting. You must remember to turn the dial back to the automatic position when you finish. Digital timers usually shut the manual flow off automatically after a set duration. This automatic shutoff prevents the hose from running all night if you walk away and forget.
A two-way splitter on your spigot solves the manual watering problem. You attach the timer to one side of the splitter and a bare hose to the other. A quick flip of the splitter lever gives you instant water access without touching the timer. The timed drip lines keep running on their own side of the splitter.
Winter storage and basic maintenance
Freezing temperatures can damage plastic water timers. Water trapped inside the narrow internal valve expands rapidly as it turns to ice. That expansion can crack the housing and ruin the seal. A frozen timer sprays water from the seams when you turn the spigot on in spring.
Winterizing your outdoor irrigation equipment takes little time in late fall. Follow these steps to store your timer safely before the first hard freeze:
- Shut off the main outdoor faucet and unscrew the timer from the metal threads.
- Shake the unit gently to remove any residual water trapped inside the plastic mechanism.
- Wipe the small screen filter clean to prevent mineral buildup during storage.
- Remove the batteries to stop severe chemical corrosion inside the battery tray.
- Wipe the metal battery contacts with a dry cloth to keep the connections bright.
Leaving a heavy device hanging on the faucet all winter strains the metal pipe. Checking the rubber washer inside the brass collar ensures a tight fit next spring. Replacing a flattened washer costs little and stops water from dripping down the side of the house.
More to check around the house
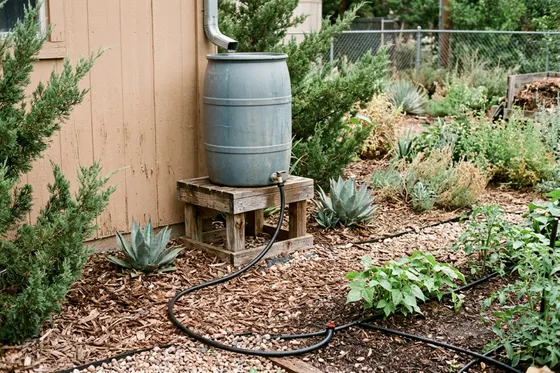
Can you run drip irrigation from a rain barrel
Find out if you can run drip irrigation from a rain barrel using gravity alone, how high to lift the drum, and which emitters work at low pressure.
6 minutes to read it all
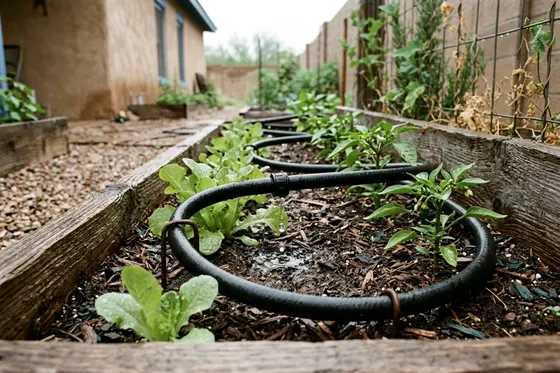
6 steps to set up drip irrigation in raised garden beds
A watering system for raised garden beds cuts waste and keeps roots damp. Learn how to set up raised garden bed drip irrigation in six plain steps.
6 minutes to read it all
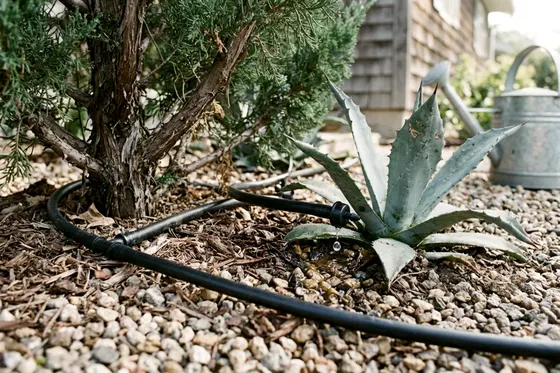
How to plan and lay out a drip irrigation system
Plan and lay out a drip irrigation system to save water and lower utility bills by delivering moisture right to the roots of your garden beds.
6 minutes to read it all