How to plan and lay out a drip irrigation system
Plan and lay out a drip irrigation system to save water and lower utility bills by delivering moisture right to the roots of your garden beds.
- Written and checked byCordelia Hudspeth
- 6 minutes to read it all
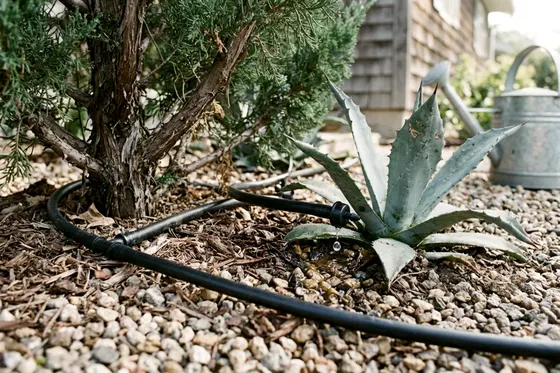
A well-planned drip irrigation system can cut waste by delivering water directly to the soil. Planning the layout protects the money you spend on garden beds, shrubs and young trees.
Why drip puts water where roots can use it
Overhead sprinklers lose water to wind and evaporation. A drip setup releases a slow, steady trickle directly onto the dirt right above the root zone. This approach pushes moisture deep into the ground rather than wetting the leaves.
Utah State University Extension reports that, when designed correctly, drip irrigation systems can be up to 90 percent efficient. You stop paying for water that bounces off plant leaves or lands on the driveway. Watering only the plants rather than bare ground can also limit weed growth.
A slow drip helps limit runoff because the ground has time to absorb it.
Map your beds and group plants by water need
Grab a measuring tape and graph paper to draw the layout of your yard. Mark the location of your outdoor faucet and outline the shape of each planting bed. Measure the distances from the spigot to the farthest shrub to figure out how much main tubing you need to buy. Buy a little more tubing than you measure to allow for bends.
Group your plants according to their thirst. Thirsty vegetables need more water than established drought-tolerant shrubs. Putting everything on the same watering schedule leaves some roots waterlogged and others totally dry. You will waste money pumping water onto plants that prefer dry dirt.
Assign a separate watering zone to each plant group. A simple yard might only need one zone for the vegetable garden and another for the perimeter shrubs. Complicated layouts might need a manifold with several valves, and USU recommends a professional design so each valve has enough flow. Check how often to water to sort out your specific groupings.
Set up the head assembly in the right order at the spigot
The head assembly controls the water before it enters the plastic tubing. Connecting the parts in the right order helps protect the lines and emitters. The components stack directly onto your outdoor faucet. Always match the thread types carefully.
Many setups start with a backflow preventer, which is meant to stop dirty garden water from flowing back into your home drinking supply, so ask your water utility or a licensed plumber what your home needs. Attach a filter and a pressure regulator, in the order the manufacturer's instructions give. Utah State University Extension notes most drip systems need 120 to 200 mesh filtration. The screen catches grit that would block the emitters.
The regulator matters because pressure differs a lot between house and drip. Utah State University Extension says most home irrigation systems run at 40 to 100 psi, while most drip systems are designed to operate between 10 and 30 psi. High house pressure can damage the plastic fittings if you skip this piece. The university also says to choose a pressure regulator that matches the pressure rating of your drip emitters.
Read the package on your chosen drip emitters to find their specific pressure rating. Wrap the threads of your spigot with plumber tape to help seal the threads. Finally, attach the tubing adapter that connects the regulator to your main plastic line. If you notice a drip at the wall, review how to fix spigot leaks to stop the waste.
Choose emitters by plant size and soil
Emitters punch into the plastic lines and release the water drop by drop. Clemson Extension lists drip emitters at 0.5 to 4 gallons per hour. The flow rate you pick depends on the soil type and the size of the plant.
Heavy clay soil drains slowly, so a high flow rate there can puddle and run off. USU says sandy soil drains more rapidly in a narrower column, so it often calls for more emitters per plant.
Small plants do well with a single low-flow emitter placed near the base. A mature shrub might need two or three higher-flow emitters spaced evenly around its base to wet the entire root zone. Avoid mixing different flow rates on the same watering zone so the timing remains predictable.
Run half inch tubing to each bed and quarter inch feeders to plants
The plastic pipes carry water from the spigot out to the root zones. Clemson Extension says distribution tubing is most commonly half inch and quarter inch. The larger pipe forms the main highway, and the smaller pipe handles the local deliveries.
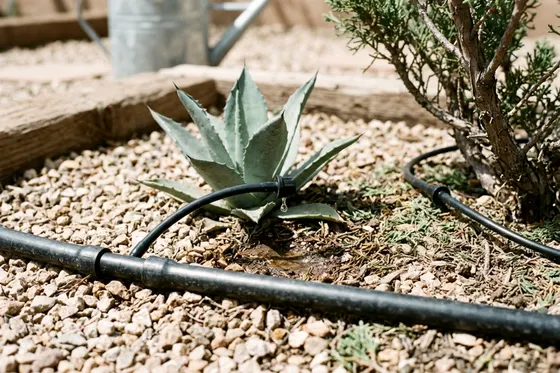
Roll the half-inch tubing out so it relaxes and is easier to uncoil and bend. Stake this main line flat against the dirt along the center of your garden beds using metal landscape pins. Cut the tubing with pipe shears and press the ends into barbed plastic elbow fittings to make sharp turns around corners.
Use a hole punch tool to poke holes in the main line near each plant. Push a straight barbed connector into each hole and attach a length of quarter-inch tubing. Run these small feeder lines directly to the base of each plant and attach your emitters at the ends.
If you plan to grow vegetables in boxes, you will need a slightly different layout. Read the guide on irrigation in raised beds for that specific project. Keep the main half-inch line capped at the far end with a removable figure-eight fitting.
Test the system, flush the lines and set run times
Dirt always gets into the pipes during installation. Open the removable end cap on the main half-inch line before you turn the water on for the first time. Let the water run wide open until it runs clear to flush out all the plastic shavings and soil particles.
Close the end cap and turn the faucet on to build pressure in the lines. Walk the entire length of the system and listen for hissing sounds that indicate a loose connection. Check every emitter to make sure water forms a steady drop rather than a spray. A spraying emitter can mean the pressure is too high or the plastic top is broken.
Dig down into the soil after the system has run for a while. The dirt should feel moist but not completely muddy. Adjust your watering timer based on how deeply the water penetrates the soil around the roots. Shorten the run time if the ground feels like a swamp.
Keep filters clean and add emitters as plants grow
Regular maintenance keeps the lines flowing freely all summer. Utah State University Extension says to inspect and clean filters monthly during the growing season. Unscrew the filter housing, pull out the mesh cylinder and rinse it under a hose.
Roots spread outward as your garden matures. Utah State University Extension says to place emitters toward the edge of the canopy as plants grow. USU also says not to add more emitters around the trunk. Shift the lines outward as the plants grow.
Walk the beds every couple of weeks to spot chewed lines or missing emitters. Patch any damaged sections by cutting the chewed pipe away and inserting a straight barbed connector to join the two clean ends.
Disconnect the head assembly from the spigot before freezing weather arrives. Open all the end caps to let gravity drain the water out of the lines. Store the timer, backflow preventer and filter indoors since freezing water can crack plastic housings, and check the manufacturer's instructions for winter care.
More to check around the house
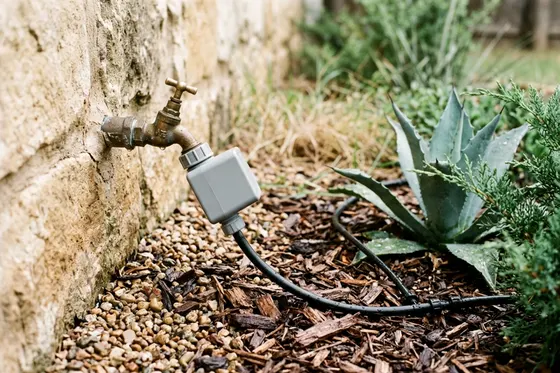
What to look for in a garden water timer
A garden water timer automates your hoses and drip lines to save water and money. Find out how to choose the right zones and schedules for your yard.
7 minutes to read it all
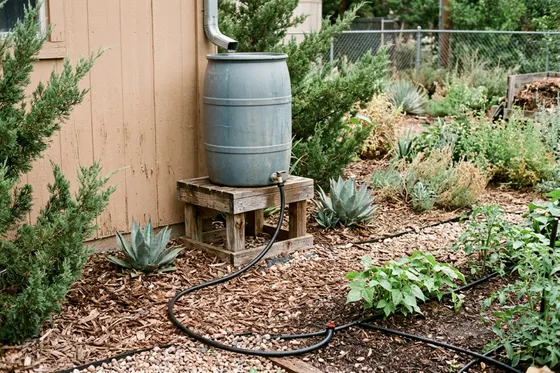
Can you run drip irrigation from a rain barrel
Find out if you can run drip irrigation from a rain barrel using gravity alone, how high to lift the drum, and which emitters work at low pressure.
6 minutes to read it all
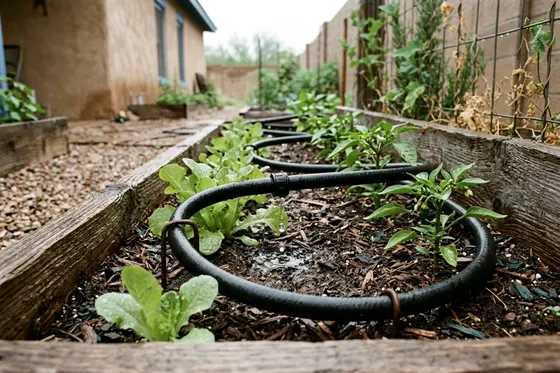
6 steps to set up drip irrigation in raised garden beds
A watering system for raised garden beds cuts waste and keeps roots damp. Learn how to set up raised garden bed drip irrigation in six plain steps.
6 minutes to read it all