6 steps to set up drip irrigation in raised garden beds
A watering system for raised garden beds cuts waste and keeps roots damp. Learn how to set up raised garden bed drip irrigation in six plain steps.
- Written and checked byCordelia Hudspeth
- 6 minutes to read it all
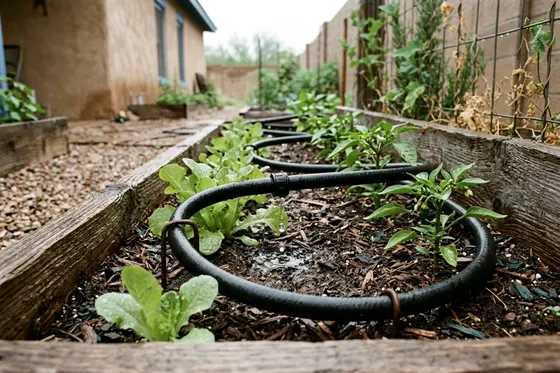
A watering system for raised garden beds puts moisture right at the roots and keeps plant leaves dry. Building your own raised garden bed drip irrigation setup can lower your summer water bill. You just need basic parts from the hardware store and a plan for your specific soil type.
1. Measure each bed and choose drip tape or emitter line
Start by finding the total square footage of the growing space. Measure the length and width of each box to figure out how many rows of tubing fit inside. Drip tape is a thin, flat plastic that swells when full of water. Solid emitter line is a stiff plastic tube with hard plastic drippers molded inside.
Both options work well for irrigating raised garden beds. Clemson Extension says drip tape emitters are evenly spaced 6 to 12 inches apart. Spacing depends on your soil, covered in step 3.
Sketch out the garden boxes on paper and draw lines down the length to count how many feet of tubing to buy. If you map out a drip system layout for a large yard, draw the raised boxes first.
2. Bring water to the beds with a header and a pressure regulator
House water pressure can be too strong for thin garden irrigation parts, and Clemson says a regulator keeps pressure from damaging the equipment. You install a pressure regulator at the outdoor spigot, and a backflow preventer if your local plumbing rules call for one. A backflow device is meant to stop dirty garden water from pulling back into the house pipes, so ask your water utility or a licensed plumber what your home needs.
The regulator drops the incoming water pressure down to a safe level for the plastic lines in the garden. Clemson recommends about 25 psi for drip emitters and soaker hoses but 10 to 12 psi for drip tape. Run a solid half-inch poly pipe from the spigot to the garden boxes.
This solid line acts as the main header to carry the water across the yard without leaking. You can bury this main line or hide it under a layer of mulch. It gives the smaller drip lines a place to attach.
3. Lay lines down the bed at the right spacing for your soil
Water moves through different types of ground at different speeds. Sandy ground drains fast, meaning the moisture drops straight down past the roots. Clay holds water tight and spreads it out wide below the surface. You space the lines closer together in sand to make sure the plant roots actually reach the moisture.
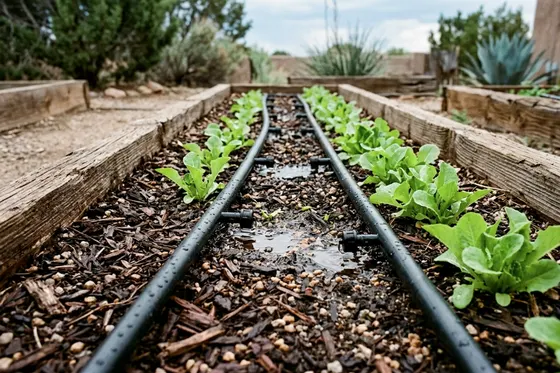
For annual vegetables, Clemson suggests emitter spacing of 6 to 10 inches in sandy soil and 8 to 12 inches in clay soil. Run the lines parallel down the length of the garden box. Leave a few inches of space between the outer runs and the wooden sides of the bed.
Pin the lines down with landscape staples. The staples keep the plastic from shifting when the water turns on and the tubes pressurize. Pushing the staples all the way into the dirt stops them from snagging your garden trowel later.
4. Connect, cap and flush the line ends
Use barbed plastic fittings to attach the thin drip lines to the thicker solid header pipe. You punch a small hole in the main line and push the barbed connector inside. The thin emitter tubing slides over the other side of the fitting. A tight friction fit holds everything together under pressure.
Leave the far ends of the drip lines open at first. Turn the spigot on and let the water run out the open ends for a few minutes. This flushes out any dirt or plastic shavings that got inside the tubes while you worked.
Turn the water off and fold the open ends over. Slide a figure-eight plastic end cap over the folded tubing to seal the line and build the pressure back up. Capping the lines this way seals the ends.
5. Set run times for sandy or clay soil
A timer at the spigot controls how long the water runs each day. Plants need a slow and steady drink rather than a massive flood of water all at once. Heavy clay absorbs water slowly and needs time to soak it up without puddling on the surface. Sandy dirt lets water drain away too quickly.
In sandy soil, Clemson prefers two 20-minute waterings a day over one 40-minute run, and in clay soil suggests starting with a 30-minute run mid morning every other day. Illinois Extension says a vegetable garden needs about an inch of water a week, two inches when temperatures top 90°F, and an inch over one square foot is about half a gallon.
Adjust the timer using these figures until the plants look healthy and the soil stays damp. Push your finger into the dirt midway between watering cycles to check the moisture. The ground should feel cool and damp below the dry surface crust.
6. Mulch over the lines and check them each week
Clemson says to cover drip lines with mulch or straw, which also helps keep the soil damp.
Lay straw or wood chips over the tubes and leave a small gap around the base of the plant stems. Turn the system on once a week and walk past the garden boxes. Listening for a loud hiss helps catch leaks early.
Look for dry patches where a dripper clogged with dirt. Watch for large wet puddles that point to a loose fitting or a hole chewed by a squirrel. You can fix a broken line by cutting out the bad section and pushing a barbed straight connector into the loose ends.
How to expand a drip system for a vegetable garden
Some gardeners start with a bed or two and add more over time. You can expand the watering system as long as the water pressure from the house holds up. You map out the new boxes and buy extra fittings.
When you build a new wooden box, extend the solid half-inch main line to reach the new spot. Punch new holes in the main line and connect the new drip runs. If the pressure drops too low at the far end of the yard, split the layout into two different watering zones.
Use a two-way timer valve at the spigot and run each zone on a different schedule. It helps to understand basic plant watering schedules before programming multiple timers. Avoid trying to run a rain barrel drip setup on the same zone as a pressurized spigot line. The weak gravity flow cannot match the strong city water pressure.
Winterizing the watering system for raised garden beds
Freezing temperatures destroy plastic irrigation parts left full of water. Ice expands inside the rigid plastic fittings and cracks the hard casing. Drain the entire setup before the first hard freeze of the fall, and check the manufacturer's instructions for winter care. Preparing the garden for winter can save you from buying replacement parts the following spring.
Unscrew the timer, backflow preventer and pressure regulator from the spigot. Bring these sensitive parts inside a heated garage or basement for the winter. Pull the figure-eight end caps off the far ends of the drip lines in the garden beds.
Lift the solid main line starting from the spigot end and walk toward the raised beds. Gravity pushes the remaining water out the open ends of the tubes. Put the plastic end caps back on once the lines sit empty so bugs stay out during the cold months.
More to check around the house
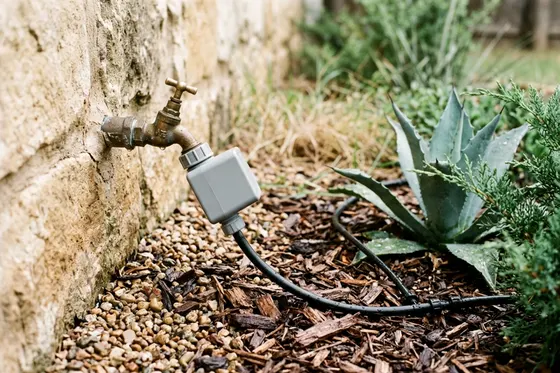
What to look for in a garden water timer
A garden water timer automates your hoses and drip lines to save water and money. Find out how to choose the right zones and schedules for your yard.
7 minutes to read it all
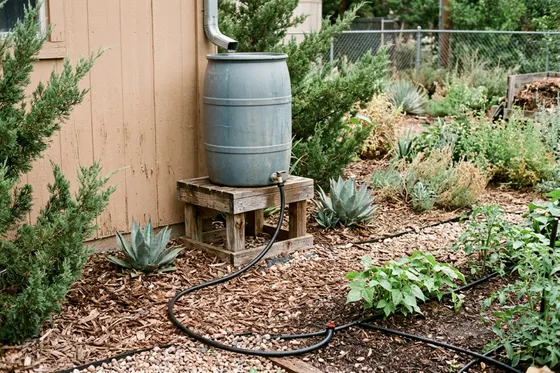
Can you run drip irrigation from a rain barrel
Find out if you can run drip irrigation from a rain barrel using gravity alone, how high to lift the drum, and which emitters work at low pressure.
6 minutes to read it all
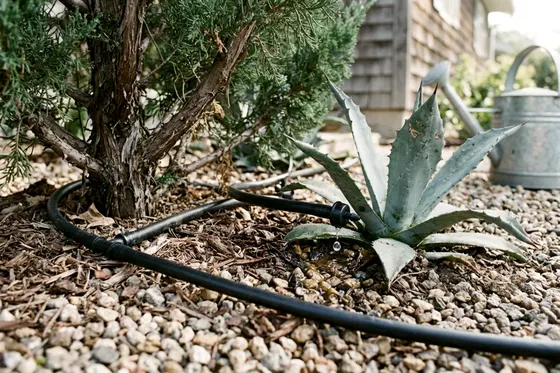
How to plan and lay out a drip irrigation system
Plan and lay out a drip irrigation system to save water and lower utility bills by delivering moisture right to the roots of your garden beds.
6 minutes to read it all