How to start a compost pile in your backyard
Start a backyard compost pile to turn kitchen scraps into a free soil amendment, reduce household trash and save money on bagged garden soil.
- Written and checked byHazel Pruett
- 7 minutes to read it all
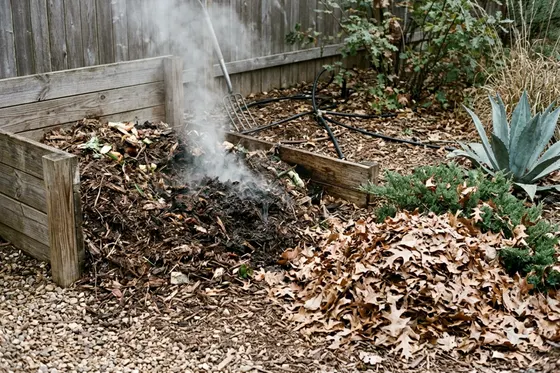
Making compost in your backyard turns kitchen scraps and fallen leaves into a free soil amendment. You save money on bagged garden soil and reduce the trash you send to the landfill. A basic setup requires very little money and runs on a simple mix of organic matter, water and oxygen.
Pick a spot that drains well and is easy to reach all year
Bare earth works well as a base because worms and soil microbes can move up into the pile. Choose a level patch in your yard that drains well after a heavy rain. Standing water drowns the organisms doing the work and creates a foul smell.
Start your new pile with a base layer of small twigs or dry plant stalks. A layer of coarse material on the bare soil improves air flow from the bottom up. This prevents the lowest layer of kitchen scraps from turning slimy.
Keep the pile close enough to the house so you will walk out there in bad weather. A spot tucked far behind a shed looks tidy from the patio. You will likely stop carrying kitchen scraps out to it when the winter wind picks up.
EPA says the pile can sit in sun or shade. Full sun dries the materials faster in summer, so you may need to add water more often.
Leave plenty of working space around the perimeter. You need room to swing a pitchfork and turn the materials. Setting a pile tight against a wooden fence can trap moisture and rot the boards over time.
Choose an open pile, a bin or a tumbler for your yard
Backyard composters choose between a loose mound on the ground, an enclosed bin or a rotating tumbler. The right choice depends on your space and how much effort you want to spend turning it.
Compost setup | Air flow and turning | Pest prevention |
|---|---|---|
Open yard pile | Turned with a pitchfork, good natural air flow | Exposed to insects and scavenging animals |
Stationary ground bin | Harder to reach the bottom with a pitchfork | Solid sides help block animals, open bottom invites worms |
Rotating tumbler | Spins on a handle for easy mixing | Enclosed drum helps keep out rodents and pets |
An open pile costs nothing to start and handles large amounts of fallen leaves or grass clippings. You just build a mound directly on the soil. The exposed materials dry out faster and invite pests if you add kitchen scraps without burying them deep inside.
A stationary compost bin holds the materials in a neat cube or cylinder, which you can build from scrap wood or buy at a hardware store. Bins retain heat well and, with a tight lid and no large gaps, help keep dogs or raccoons from reaching decomposing food. Turning the pile inside a fixed bin takes more effort than turning an open mound.
A compost tumbler sits off the ground on a metal frame, letting you spin the entire barrel with a handle to mix the contents. Tumblers make turning easy and help keep out rodents. They hold less material than a ground bin and cost more upfront.
Balance carbon rich browns with nitrogen rich greens
A pile needs two kinds of material. Greens provide nitrogen and moisture, while browns supply carbon and structure. You need a mix of both to keep the process moving.
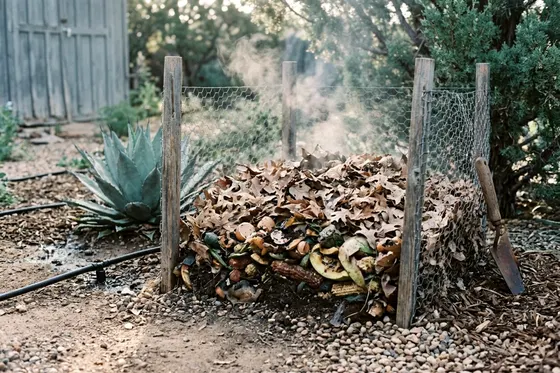
Green materials break down fast and heat the pile. Kitchen scraps like apple cores, coffee grounds and vegetable peels fall into this group. Fresh grass clippings and green plant trimmings also count as greens.
Brown materials break down slowly and create air pockets. Dried leaves, shredded newspaper, cardboard and pine needles make up the bulk of your browns. Straw and dead plant stalks belong in this category too.
EPA advises adding at least two to three times the volume of browns for each volume of greens in a backyard compost pile. This ratio prevents the greens from turning into a soggy mat.
Store bags of dry leaves in the fall so you have browns ready all year. Every time you dump a bucket of kitchen scraps into the bin, cover it with two or three buckets of dry leaves. This top layer blocks flies and traps odors.
Cut larger items down to size before tossing them in. A whole melon rind breaks down slowly. Chopping the rind into small pieces exposes more surface area to the microbes.
Winter weather slows the microbes down. Decomposition slows in cold weather. Keep adding your greens and browns and expect the pile to take longer to finish.
What to leave out of a backyard pile and why
Some organic materials create health hazards or attract pests to your property. EPA says to keep meat, fish, bones, dairy, fats, oils and grease out of backyard piles because they attract animals and the pile rarely gets hot enough to break them down, though small amounts of cooked food are fine.
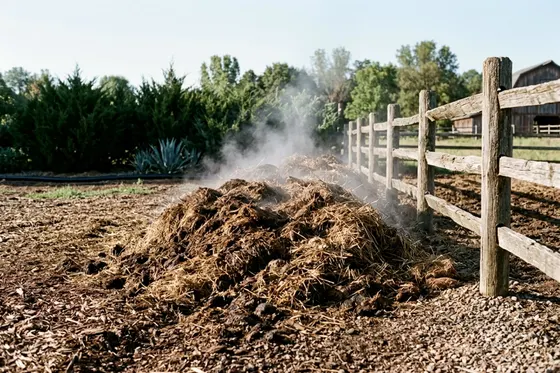
Leave out pet waste from dogs or cats. Pet waste can carry parasites and bacteria that a home pile may not destroy. If you keep livestock, you can follow specific steps to turn a horse manure pile into a garden amendment.
Skip diseased plant leaves and weeds that have gone to seed, since a home pile may not get hot enough to kill them. Tossing them in could spread disease and weeds across your garden later. Check your local rules on disposing of yard waste for those items instead.
Avoid glossy printed paper and wood treated with chemicals. Colored inks and the preservatives in treated lumber can contaminate your finished soil.
Compostable foodservice ware and compostable bags also usually fail to break down fully in a backyard pile, according to EPA. Stick to plain plant matter for a home pile. If you have kitchen scraps that a standard pile cannot take, read about what bokashi setups handle.
Keep it damp and turn it to feed it air
Microbes need moisture to survive and break down the materials. EPA says to keep compost about as moist as a wrung out sponge. Too much water drowns the beneficial bacteria, and too little brings the whole process to a halt.
Check the moisture level every time you add new material by squeezing a handful from the center. You should feel moisture without seeing water drip out. Add water with a garden hose if the material feels dusty, or stir in dry leaves to soak up excess puddles.
Gardeners in dry climates might need to cover their open piles with a tarp. A plastic tarp blocks the hot sun and traps the natural moisture inside. Remove the cover when it rains to let nature do the watering for you.
Air flow keeps the pile smelling earthy rather than sour. The microbes consume oxygen as they work. You must turn the pile to bring fresh air into the center and move the outer edges inward.
Use a pitchfork or a shovel to flip the materials every few weeks, since a pile that smells like rotten eggs lacks oxygen. Turning the materials breaks up matted clumps and gets the decomposition back on track. If you use a heavy plastic bin, poke holes into the center with a thick stick to let air in.
How long it takes and how to tell it is finished
The pile shrinks noticeably as the materials break down. The temperature in the center drops to match the outside air when the active phase ends. You will notice fewer worms and insects working in the center.
Finished compost looks and smells like rich, dark forest soil. You should not be able to recognize the original items you put in. A few stubborn pieces like avocado pits or corn cobs might still remain.
Sift the finished material through a mesh screen before you use it. Toss the uncomposted chunks back into your active bin to break down further.
Let the sifted material cure for at least four weeks after it stops heating, as EPA says. Many gardeners start a second pile so they can leave the first one alone to finish.
Ways to use finished compost in beds and on the lawn
Your finished compost holds nutrients and helps soil retain moisture. You can work it into the ground before planting new garden beds in the spring. Spread a thick layer over the topsoil and mix it in well.
Top dress existing flower beds and vegetable plots during the growing season. Spread a thin layer around the base of established plants. Rain carries the nutrients down to the roots.
Give your lawn a boost in the fall by spreading a thin layer of compost over the grass. Use a rake to distribute it evenly so the grass blades can still breathe. This improves the soil structure beneath the turf and can reduce the need for synthetic fertilizer.
Mix finished compost into the potting soil for indoor plants or container gardens, as EPA suggests.
EPA also lists window boxes and tree beds as places to use finished compost.
More to check around the house
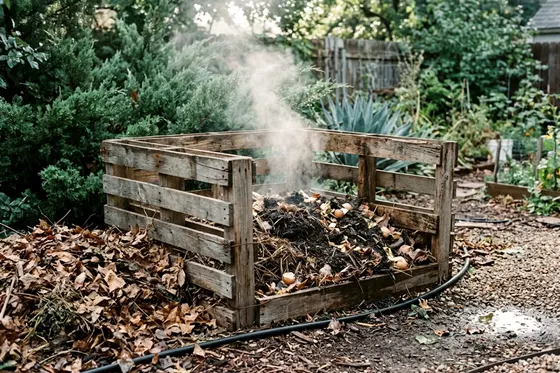
Build a pallet compost bin in an afternoon
Build a free pallet compost bin to save money and reduce household waste. Find safe materials and construct a three sided wood bin in an afternoon.
7 minutes to read it all
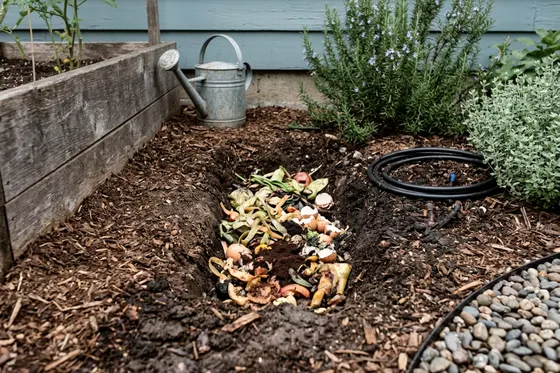
What bokashi composting can handle that a pile cannot
Learn how bokashi composting handles meat and dairy using oxygen free fermentation and turns household food waste into rich garden soil in just a few weeks.
6 minutes to read it all
7 steps to turn a horse manure pile into garden compost
Build a horse manure compost pile to process stable waste into rich soil. Learn the right temperatures, sizes and turning schedules for garden ready compost.
6 minutes to read it all