7 steps to turn a horse manure pile into garden compost
Build a horse manure compost pile to process stable waste into rich soil. Learn the right temperatures, sizes and turning schedules for garden ready compost.
- Written and checked byHazel Pruett
- 6 minutes to read it all
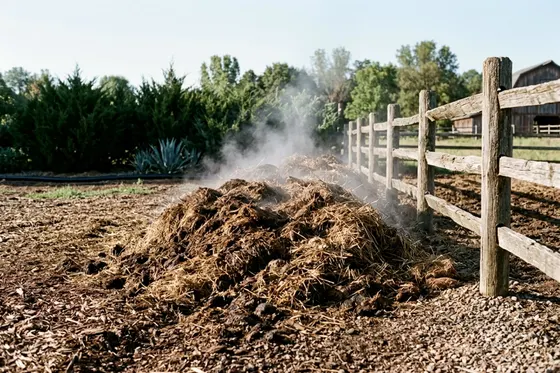
Buying bagged compost for a large garden adds up quickly over a long growing season. A horse manure compost pile supplies free material for your yard while solving a heavy waste problem at the barn. With regular care, processing the stall sweepings can shrink their volume by about half and create garden ready soil in as little as four to six weeks.
1. Work out how much manure and bedding you produce
The Maryland Department of Agriculture says a 1,000 pound horse produces 40 to 50 pounds of manure a day. That adds up to nearly a ton a month. Paying a commercial service to haul away a dumpster of waste gets expensive. Composting on site can cut that recurring bill.
You also have to calculate the soiled stall bedding hauled out with the manure. A single stable generates a heavy load of daily material that requires a clear plan. Knowing the sheer volume helps you size your compost bins correctly from the start.
You need to keep baling twine, trash and rocks out of the wheelbarrow. These items spoil the finished compost and can jam your spreader.
2. Pick a flat site away from wells, streams and the barn
Set up your composting area on level ground so heavy rains do not wash nutrients into nearby waterways. Keep the site away from drinking wells, creeks and property lines. You also need distance from the barn and hay storage to reduce fire risks.
Giving your neighbors some distance can prevent complaints about odors or flies while the fresh manure begins to break down. A tractor or wheelbarrow needs a solid path to reach the site in all weather conditions.
Build the bins on a concrete pad, which cuts nutrient losses and makes the pile easier to turn. A solid floor keeps tractor tires from sinking into the mud after a heavy storm and makes it easier to scrape the bottom clean.
3. Build a pile big enough to heat up
A small pile of waste just sits and rots slowly. A proper compost pile needs enough mass to trap the heat generated by the microbes breaking down the material. A manure compost pile needs to be at least 3 feet square and 3 to 4 feet high to reach the target temperatures.
If you have just one horse, collect the daily cleanings in a holding bin. Wait until you accumulate enough material to build a pile that meets this minimum size. Building a big pile all at once helps the batch heat.
A long, windrow style pile works best if you have a tractor to straddle the heap and turn it. A square three bin structure works better for manual turning with a pitchfork.
4. Mix manure with leaves, straw or bedding to balance it
The organisms that digest stall waste need the right blend of carbon and nitrogen. The ideal carbon to nitrogen ratio is 25 to 30 to 1. Horse manure runs about 15 to 1, making it heavy on nitrogen. You balance the pile by adding high carbon materials.
Dry leaves offer a ratio of 54 to 1, while sawdust hits 500 to 1. If you bed your stalls with heavy wood shavings, the wheelbarrow mix might already carry a good carbon balance. If your horses live on pasture, you will likely need to add dry leaves or other high carbon material.
Keep a pile of dry autumn leaves near the bins to mix in with the fresh manure. You might prefer to start a compost pile in your backyard for kitchen scraps. That keeps the barn system focused entirely on stall waste.
5. Keep it damp and turn it often
Microbes require moisture and oxygen to break down raw waste quickly. Maryland advises turning piles anywhere from three times a week to a few times a month. You want the material to feel like a well wrung out sponge.
If the pile dries out, run a hose over the layers. Dig into the side of the pile to check the moisture level below the surface. Pay close attention to the smell of the pile as it works.
Turn rather than water a pile that smells like alcohol, since compost piles can combust. An alcohol smell means conditions are ripe for combustion, so keep smoking away from the pile. Turning the material aerates it.
6. Watch the heat that kills weed seeds and parasites
A working pile heats up in the center. The internal temperature needs to reach about 130 to 140°F. Reaching and holding this heat is enough to kill most internal parasites and many weed seeds hidden in the manure.
Monitor the core with a long metal compost thermometer shoved deep into the center. Check the gauge every couple of days. When the temperature begins to drop, the pile may be running low on oxygen.
That drop is your signal to turn the pile and move the cooler outside layers into the center. Mixing the material restarts the heating cycle so the uncomposted edges get their turn in the hot core.
7. Know when it is finished and how to use it in the garden
With regular care, horse manure can be composted in as little as 4 to 6 weeks. Finished compost cools on its own and shrinks to about half its original size. The end product looks like dark, crumbly topsoil and smells like rich earth instead of a stable.
At this stage, the raw manure is fully broken down and ready for the garden. Spread it over vegetable plots or work it into empty beds to improve the soil structure. Adding this organic matter helps the ground hold moisture, which can help with water use.
Soil enriched with compost holds water longer, which pairs well with drip irrigation in raised garden beds to run less frequently. Better water retention may let you water less often.
How to set up a continuous bin system
A single heap works well if you only clean out a trailer occasionally. A permanent stable requires a system that handles fresh waste every single day. A three bin setup gives you a simple way to manage the constant flow of manure.
Build three open front bays side by side using heavy lumber or concrete blocks. The first bin catches the fresh daily cleanings straight from the stalls. Keep dumping fresh manure, wet bedding and spilled hay into this first bay.
Once the first bay reaches capacity, flip all of it into the second bin. This starts the active cooking phase and empties the first bay for tomorrow's cleanings. Turn the material in the second bin to maintain the heat. When that pile finishes, move it into the third bin to cure.
Ways to store and cover your active piles
Heavy rain slows down a compost pile by soaking the material and driving out the oxygen. A soggy pile turns cold, stops breaking down and starts to smell awful. A simple cover keeps the moisture levels consistent and prevents downpours from washing nutrients into the ground.
Tying a heavy-duty plastic tarp over the active pile offers a cheap shield against the weather. Weigh down the edges with old tires to keep the wind from catching it. If you build permanent wooden bins, a slanted metal roof gives good protection.
In very dry climates, a cover does the opposite job. It traps the moisture inside the pile so the sun does not bake the outer layers to a crisp.
More to check around the house
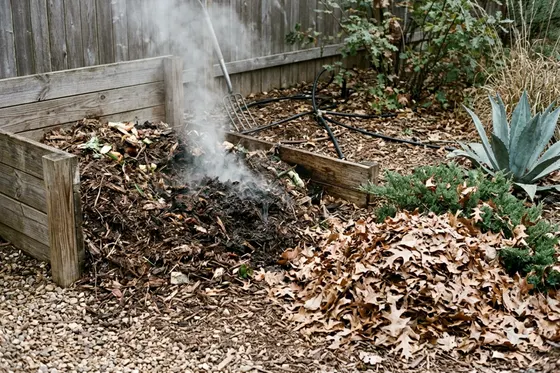
How to start a compost pile in your backyard
Start a backyard compost pile to turn kitchen scraps into a free soil amendment, reduce household trash and save money on bagged garden soil.
7 minutes to read it all
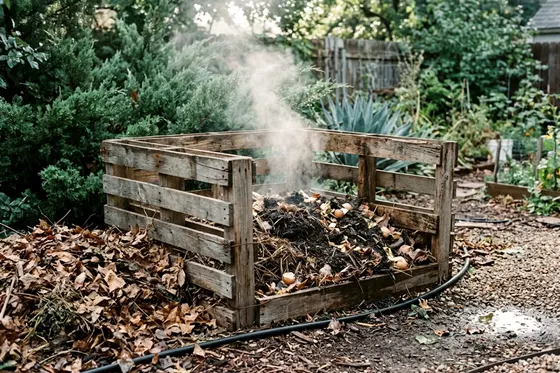
Build a pallet compost bin in an afternoon
Build a free pallet compost bin to save money and reduce household waste. Find safe materials and construct a three sided wood bin in an afternoon.
7 minutes to read it all
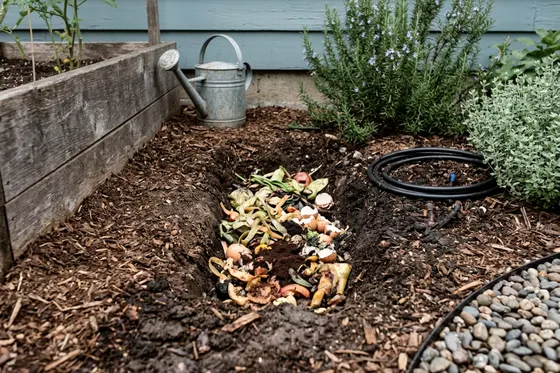
What bokashi composting can handle that a pile cannot
Learn how bokashi composting handles meat and dairy using oxygen free fermentation and turns household food waste into rich garden soil in just a few weeks.
6 minutes to read it all