What bokashi composting can handle that a pile cannot
Learn how bokashi composting handles meat and dairy using oxygen free fermentation and turns household food waste into rich garden soil in just a few weeks.
- Written and checked byHazel Pruett
- 6 minutes to read it all
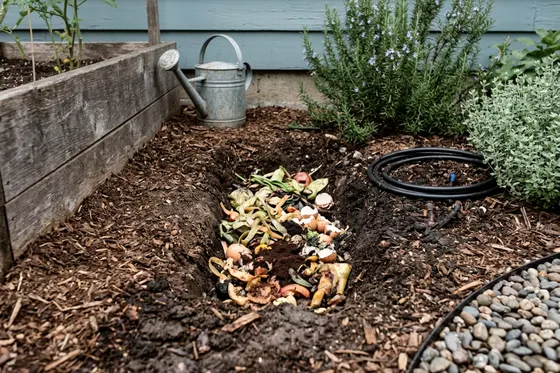
Bokashi composting breaks down meat, dairy and small bones that a standard backyard pile cannot handle. The system ferments your food waste in a sealed bucket instead of relying on open air to rot it. You can keep the bin indoors and turn a wider range of kitchen scraps into soil.
How bokashi ferments scraps instead of rotting them
Traditional compost relies on heat and turning to break down plant matter. The bokashi method relies on beneficial microbes to pickle the waste in a sealed environment. NC State Extension describes bokashi as an oxygen free fermentation process that breaks down food waste quickly.
The food will not fully decompose in the bin, but it should smell pickled after about two weeks of fermenting.
This method takes up very little space. You only need a specialized bucket and a bag of inoculated bran. Renters can keep the bucket under the kitchen sink, in a pantry or out on a small patio.
The food a bokashi bucket takes that a backyard pile should not
A regular outdoor pile forces you to leave out many common kitchen scraps. You must stick strictly to plant trimmings if you start a compost pile in your backyard. Animal products will rot, smell terrible and attract pests to your property.
A bokashi bin can take fruit and vegetable scraps, cooked food, dairy, meat and even small bones, according to NC State Extension. The extension article says fermenting in a sealed bin deters rodents and flies.
You can scrape your dinner plates directly into the bucket. Leftover pasta, cheese rinds and chicken skin fit that list. The source names small bones only, so keep large bones out.
How to layer scraps and bran and keep the air out
Large chunks of food leave air gaps in the bucket. The fermentation process stalls if too much oxygen remains trapped inside the waste. You must chop whole fruits and large vegetable stalks into smaller pieces before they go in.
Chop large scraps into smaller pieces, which speeds fermentation and lets them pack together tightly.
Keep a small bowl on your kitchen counter to collect the day's scraps. Opening the main bokashi bucket too often lets fresh air inside and disrupts the fermentation. Add the collected scraps to the sealed bin in one trip.
The microbes live on bran inoculated with microbes, usually wheat bran or rice hulls. You must distribute this bran evenly through your food waste to keep the fermentation active. Each new layer of food gets a handful of bokashi bran and is pressed down to remove air.
Spread the food scraps flat across the bottom of the bucket. Sprinkle the bran directly over the wet food so the microbes can wake up and multiply. Add more bran if the contents smell foul instead of pickled.
Use a flat tool to squash the layers together. A potato masher or a sturdy plastic plate works perfectly to compress the waste. Pressing down forces the oxygen up and out before you seal the lid tight.
Draining the liquid every few days and what to do with it
Kitchen scraps contain a massive amount of water. The fermentation process squeezes this moisture out of the cell walls as the food softens. The water pools at the bottom of the bucket beneath a plastic strainer plate.
Liquid buildup can cause odors if you ignore it. Drain it every few days to prevent odors. Most buckets have a small spigot near the base specifically for this job.
Open the spigot and catch the fluid in a glass jar. The runoff can have a strong smell, so drain it into a jar you can carry outside.
You can also dilute this liquid and use it to feed your yard. Dilute the liquid with water and use it as a liquid fertilizer on plants. Follow your bin maker's dilution directions.
The bucket needs a rest period once you fill it to the top. The microbes require time to finish pickling the final layers of food. Let a full bin ferment for about two weeks.
Keep the sealed bucket at room temperature while it rests. A dark corner of the kitchen or a shady spot in the garage works well. Do not open the lid to check on the food during this waiting period.
You still need to check the spigot while the bucket sits. Continue to drain the liquid every few days so the bottom layer stays damp rather than soaked. You can use a second bucket to start filling while the first one rests.
Burying the fermented scraps or adding them to a pile
The food will still look largely intact when you open the lid after two weeks. The scraps only turn into recognizable soil after they mix with regular dirt. You must move the pickled waste outdoors for the final step.
Dig a trench in your garden bed or a dedicated spot in the yard. Bury the contents at least 8 inches deep to avoid attracting animals. Raccoons and dogs might dig up a shallow trench out of curiosity.
Dump the fermented bucket into the hole and chop the compressed block apart with your shovel. Stir a few scoops of dirt into the scraps to introduce soil bacteria. Cover the mixture completely with the remaining earth and stamp it down flat.
Once buried, fermented bokashi material fully decomposes within two to four weeks, according to NC State Extension. The acidic patch neutralizes as the food vanishes into the surrounding earth. Ask your local extension office how long to wait before planting in that spot.
You can skip digging a trench if you already keep a traditional compost bin. The pickled waste provides a heavy dose of nitrogen and moisture to a dry pile. You just have to bury the fermented block deep in the center.
Pull back the top layers of your outdoor heap to expose the middle. Dump the bucket and use your pitchfork to break the compressed food apart. The acidic scraps will break down rapidly alongside your dry leaves and grass clippings.
Cover the wet food completely with dry brown materials to absorb the excess moisture. You can use extra twigs and dried leaves if you understand what counts as yard waste and where it can go. A thick layer of dry material traps the smell and keeps flies away.
Renters without a yard can finish the process on an apartment balcony. You can build a soil box out of a heavy-duty plastic storage tote. Drill a few small holes in the lid to allow minimal airflow.
Fill the tote halfway with the cheapest potting soil you can find at the garden center. Dump your fermented scraps into the plastic bin and mix them thoroughly with the dirt. Add more soil on top until the food is completely covered.
Leave the tote alone for several weeks while the soil breaks down the pickled waste.
Fixing bad smells, mold and a bucket that will not ferment
A successful batch of bokashi smells pickled. A terrible smell of rotting garbage means the fermentation failed. Bad odors usually mean air leaked into the bucket or you forgot to drain the liquid.
Check the rubber gasket on the lid for cracks and ensure you seal it tightly every time. Press the food down harder to squeeze out trapped air pockets. Add more bran to your next layer if the smell turns foul.
You might see mold growing across the top of the food. The extension article does not cover mold, so follow your bin maker's instructions and throw the batch out if it smells foul.
Green or black mold, or a rotting smell instead of a pickled one, suggests the batch has failed. You must throw the spoiled waste into the municipal trash. Scrub the bucket with hot water and dish soap before you start over.
Wash the bucket before you start a new batch.
Take the empty bucket outside and rinse it out with a garden hose. Wash the inside with warm water and a few drops of mild dish soap. Follow your bin maker's cleaning instructions.
Rinse the spigot and the plastic strainer plate until water flows smoothly.
Let all the parts dry completely before you reassemble the bin.
More to check around the house
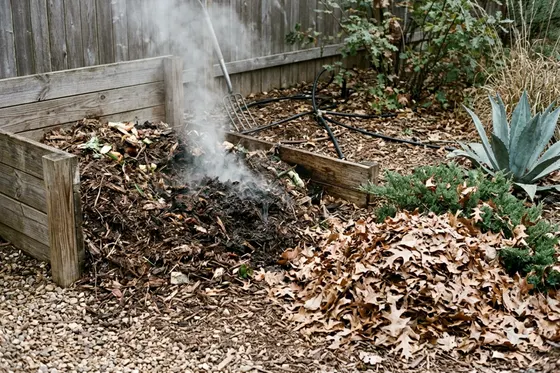
How to start a compost pile in your backyard
Start a backyard compost pile to turn kitchen scraps into a free soil amendment, reduce household trash and save money on bagged garden soil.
7 minutes to read it all
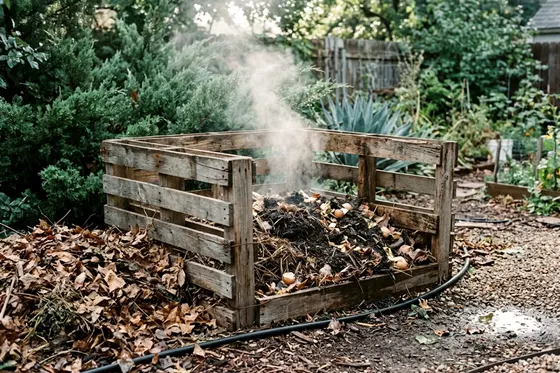
Build a pallet compost bin in an afternoon
Build a free pallet compost bin to save money and reduce household waste. Find safe materials and construct a three sided wood bin in an afternoon.
7 minutes to read it all
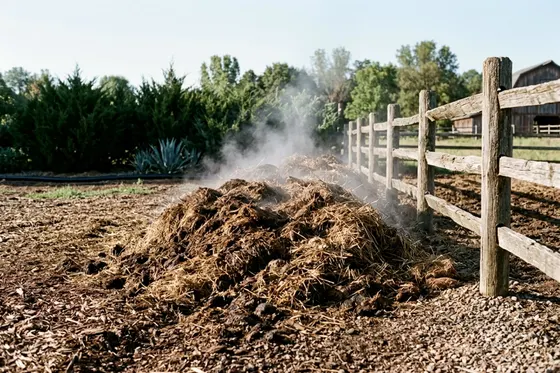
7 steps to turn a horse manure pile into garden compost
Build a horse manure compost pile to process stable waste into rich soil. Learn the right temperatures, sizes and turning schedules for garden ready compost.
6 minutes to read it all