How to hook up a rain barrel with a downspout diverter
Hook up a rain barrel diverter to your downspout with these simple steps and start collecting free rainwater to water your garden through summer.
- Written and checked byCordelia Hudspeth
- 6 minutes to read it all
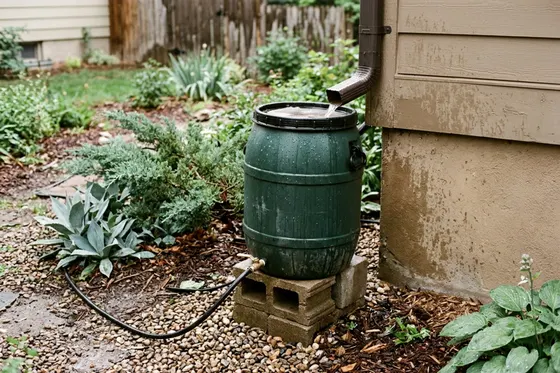
Water from a rain barrel can lower your municipal utility bill in summer. Hooking a barrel to an existing downspout with a diverter is a short project. A proper installation keeps your downspout working while giving you garden water, though Rutgers says harvested water should not be used as drinking water.
Pick a downspout and a level spot
Look for a downspout close to the garden beds or shrubs you plan to water. Otherwise you end up carrying watering cans or running long hoses. Penn State Extension says to keep a rain barrel within three feet of the downspout. This short distance keeps the flexible connection hose tight and prevents sagging.
You should confirm your local rules before buying any rainwater collection equipment. A quick online search will show the rain harvesting rules by state for your specific location. Rules on collecting rainwater differ from place to place. Check if your city offers rebates or sells discounted barrels to local residents.
Build a solid base for a heavy load
Water becomes extremely heavy when stored in bulk. A full 55-gallon rain barrel weighs about 460 pounds, according to Rutgers Cooperative Extension. The ground under the barrel must support this massive weight without settling unevenly. Soft soil can compress under the load and let the barrel lean or tip.
Clear away grass, plants and loose dirt under your chosen downspout. Dig down to reach firm, compacted soil and tamp the exposed dirt flat with a hand tamper or a heavy piece of wood. Pour crushed gravel into the shallow hole to create a flat pad. Check the gravel surface with a long bubble level and adjust the stones until perfectly flat.
Gravity pushes the collected rainwater out of the bottom spigot. A higher base creates better flow for a watering can or an attached hose. If you want to run drip irrigation from a rain barrel, Penn State says to raise the barrel on cinder blocks or bricks to increase water pressure at the spigot. A low barrel barely pushes water through a hose and makes filling watering cans difficult.
Place your concrete blocks flat on the prepared gravel bed, arranging them side by side to support the entire bottom of the barrel. Stacking the blocks too high makes the entire structure unstable. Check that your watering can still fits under the spigot. Place the level across the finished blocks to confirm the surface is flat.
Mark and drill the metal downspout
The diverter sits inside the downspout to catch water running down the inner walls. Place your empty barrel on the newly built block base and find the fill hole located near the top rim. Use a tape measure to find the exact height from the top of the base to the fill hole. Transfer that exact measurement to the downspout and mark it clearly with a pencil.
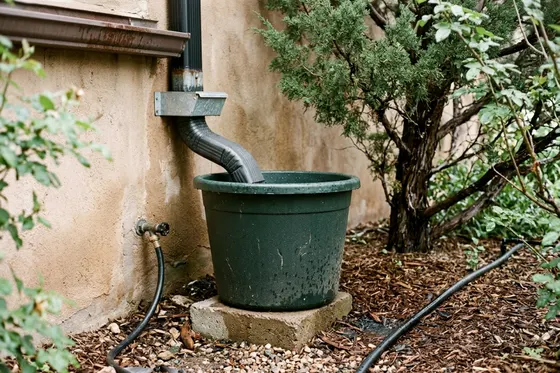
Follow your diverter kit's instructions for the exact height, since the right mark depends on the kit and the barrel. Put on safety glasses and leather work gloves to protect your eyes and hands. Metal downspouts leave sharp edges when cut with power tools.
In Penn State's diverter method, a 2 1/8-inch hole is drilled in the downspout. Attach a hole saw bit of this exact size to your power drill. Center the drill bit on your pencil mark and cut slowly through the metal or plastic. File down the sharp edges around the new hole so the rubber diverter slides in smoothly.
Fit the diverter and connect the hose
A rubber diverter bends to fit through the hole you just drilled. Squeeze the sides of the diverter and push it into the downspout. The diverter goes in with its cup facing up to catch the falling water.
Push the outer rim of the diverter tight against the outside of the downspout. Make sure the side spout points directly toward your rain barrel. Secure the diverter in place using the screws provided in your kit. The Penn State installation method notes the diverter is held by two screws, which you should drive in slowly so you do not strip the thin metal gutter.
Most diverter kits include a flexible plastic hose to connect the system. Push one end of this fill hose over the side spout of the installed diverter. Push the other end into the inlet hole on the side of your rain barrel. The hose should run straight across without sagging in the middle.
A sagging hose holds standing water and restricts the flow of rainwater into the barrel. Trim the hose with a utility knife if it hangs too low. Secure the hose ends with metal hose clamps if the fit feels loose. A tight connection keeps the hose from blowing off during heavy wind or severe rain.
Route the overflow away from the foundation
Heavy rain fills a standard storage barrel very fast. Excess water needs a safe path away from your home when the barrel reaches full capacity. An overflow hose attaches to a threaded port near the top edge of the tank. You must route this hose to a lower spot in your yard to prevent property damage.
Water pooling near a house can crack foundations and flood basements over time. Rutgers advises directing the overflow safely away from your house walls based on your foundation style.
Foundation type | Minimum overflow distance |
|---|---|
House with a basement | At least 6 feet |
House with a crawl space | At least 2 feet |
Lay the overflow hose through a garden bed or point it toward a grassy area. You can cover the hose with a thin layer of wood mulch to hide the plastic. Make sure the water flows downhill away from the house walls. Do not point the overflow toward a neighbor's property or over a public sidewalk.
Screen the barrel against mosquitoes and leaves
Stagnant water attracts mosquitoes looking for a safe place to lay eggs, so every opening on your rain barrel needs a physical barrier to stop insects. Many commercial barrels include a mesh screen over the large top opening. Check this screen for tears or gaps before the rainy season begins. Replace any damaged screens with fiberglass or aluminum window screen from a local hardware store.
The diverter hose blocks the main inlet hole, but small gaps sometimes remain around the edges. Wrap the hose connection with waterproof tape to seal these small openings tight. The overflow hose provides another hidden entry point for pests and small animals. Fasten a piece of window screen over the end of the overflow hose with a plastic zip tie to stop bugs from flying up the hose into the stored water.
Keeping your roof gutters clean also protects the water quality in your barrel. Clean the gutters regularly to keep large leaves out of the downspout. A clear gutter keeps the diverter cup working smoothly and reduces sludge building up in the tank.
Drain and disconnect the barrel before winter
Freezing water expands and can crack a plastic barrel left outside. You need to shut down the water collection system before the first hard freeze arrives. Open the bottom spigot and let all the remaining water drain into your yard. Disconnect the flexible fill hose from the downspout diverter and the barrel.
Follow your diverter kit's instructions for closing the hole in the downspout. Wash the inside of the barrel with a mild soap before putting it away for the season. Rutgers gives three shutdown steps:
- Drain and disconnect the barrel before winter
- Store the barrel indoors or upside down outside
- Reattach the downspout with a splash pad
A garage or dry shed protects the plastic from harsh winter weather and prolongs its lifespan. Leaving the barrel upside down outside, covered and tied down, keeps water from freezing inside it. The downspout will function normally with the splash pad until you hook the barrel up again in early spring.
More to check around the house
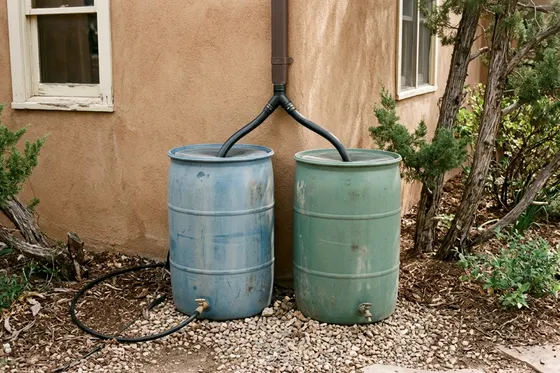
Rain barrel rules to check before you buy one
Before you start rain harvesting at home, read up on your state and local regulations to find out exactly what size and type of barrel is allowed.
5 minutes to read it all
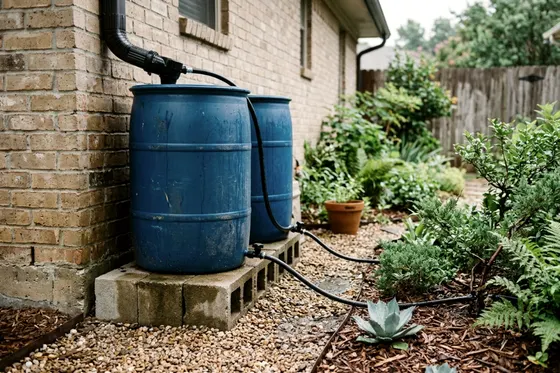
How big a rain barrel does your garden need
Estimate the size of a rain barrel for garden beds by measuring your roof drainage area and matching the water volume to your outdoor plants.
5 minutes to read it all
Build a DIY rain barrel from a food-grade drum in 7 steps
Build a DIY rain barrel from a food-grade drum to save water at home. Follow these seven simple steps to drill, seal and screen your homemade system.
7 minutes to read it all